
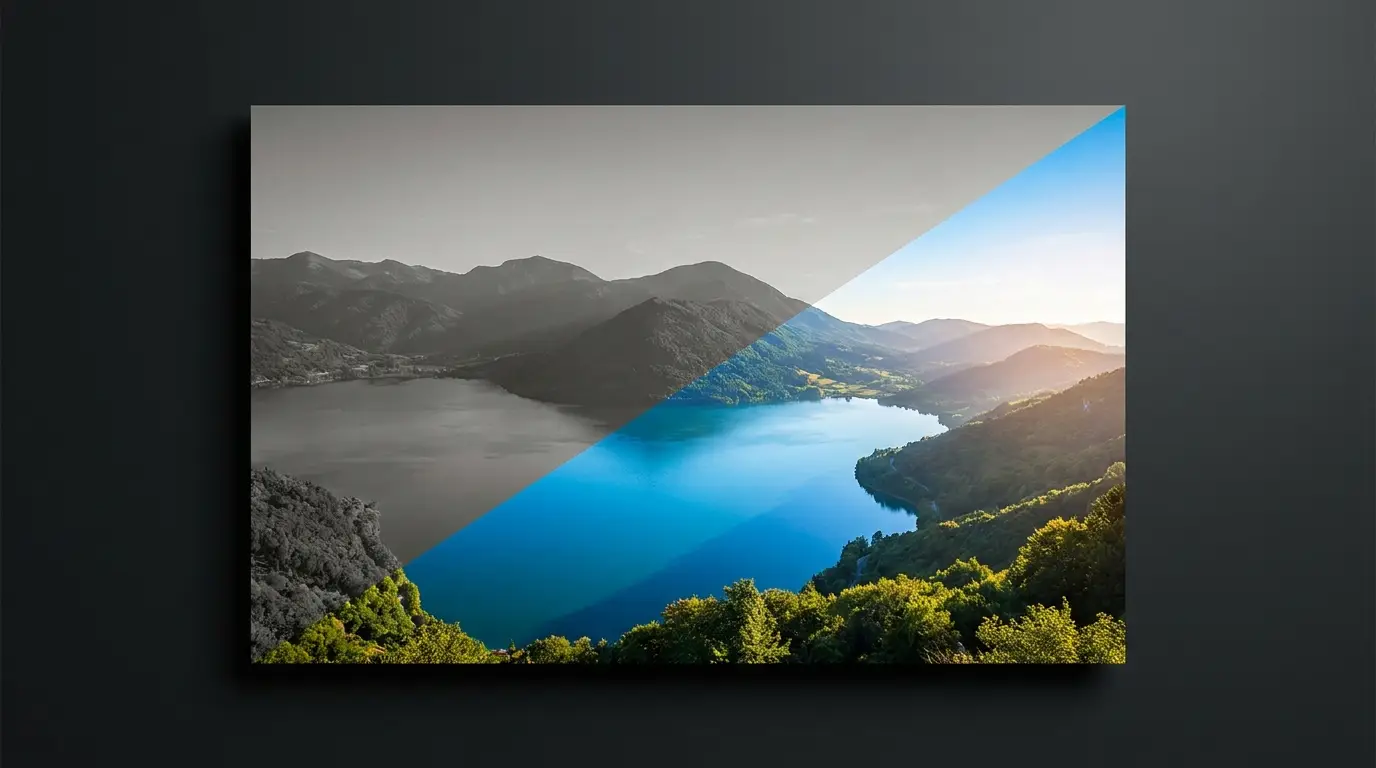
What enhancement really does (and doesn't)
AI enhancement is reconstruction, not magnification. The model has seen millions of sharp/soft image pairs, so when it meets a blurred edge it infers where the true edge sits and redraws it, and when it meets smeared texture it synthesizes plausible grain, pores, or fabric weave in its place. That's why results look genuinely sharper rather than just contrast-boosted like an old-school sharpening filter.
That also defines the limits honestly: the model can only reconstruct what's plausibly there. A slightly soft portrait comes back convincingly crisp; a face that's a five-pixel smear forces the model to invent features. Use it to rescue images that are 80% of the way there, not to conjure detail out of a thumbnail.
Enhance vs. Upscale — which one you need
Enhance improves quality at the same resolution: it deblurs, restores texture, and cleans up the mushiness that compression leaves behind. Upscale adds resolution — it multiplies the pixel count for print or large-format use. People reach for the upscaler when they actually need the enhancer surprisingly often: if your image looks bad at its current size, more pixels will just make the badness larger.
The pro sequence when you need both is enhance first, upscale second. Enhancement gives the upscaler clean edges and honest texture to work from, so the enlargement stays crisp instead of faithfully magnifying blur.
Where it earns its keep
Generated images are the most common input: a render can nail composition and lighting but come out slightly soft in the fine detail, and one Enhance pass tightens it up before export. It's the difference between an AI image that survives close inspection and one that doesn't.
For photos, the classic cases are phone shots processed to death by computational smoothing, images saved and re-saved through messaging apps, product photos shot in a hurry, and older digital photos from low-megapixel cameras. Anything destined for a listing, a portfolio, or a client deck is worth the pass.