Pick the tool by the problem
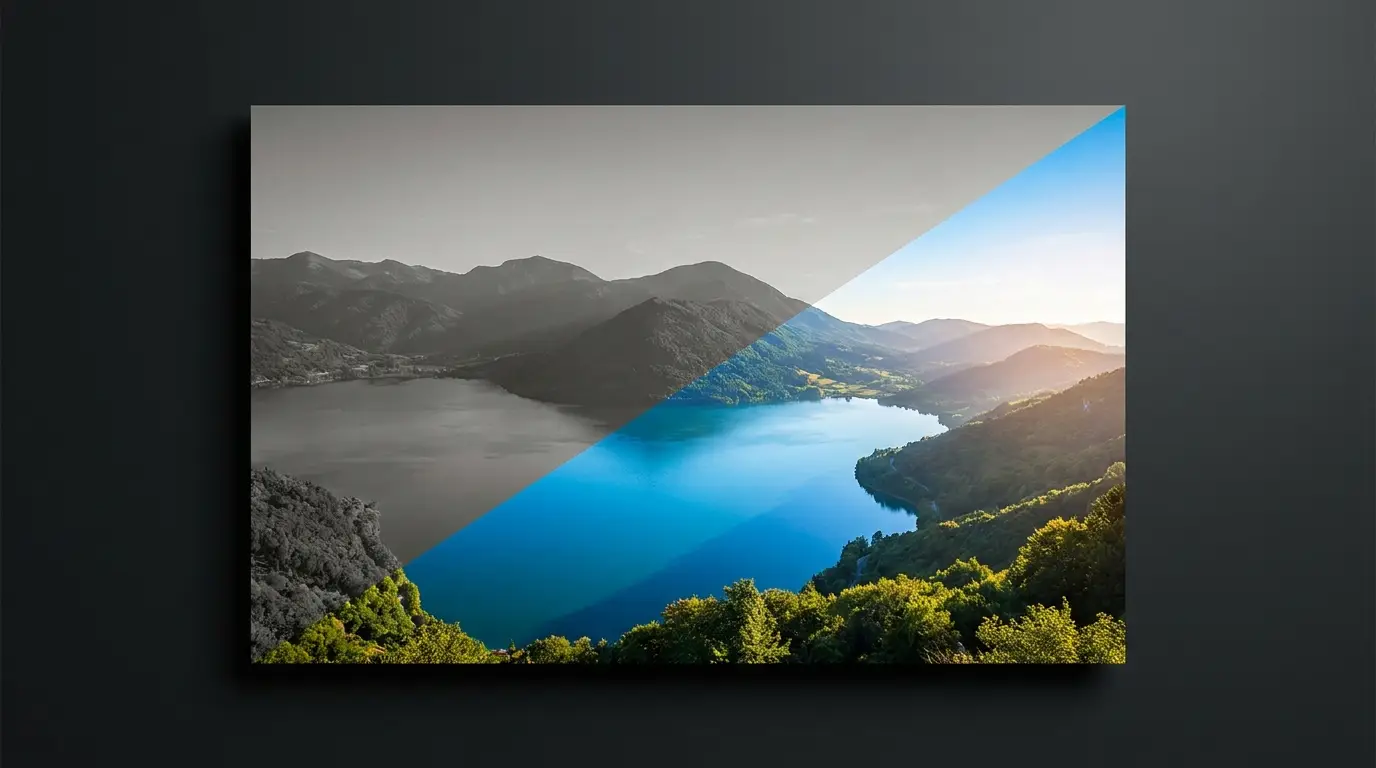
Diagnose first, then reach: something in the frame shouldn't be there — Inpaint. The image is soft or over-compressed — Enhance. It's too small for print or a hero banner — Upscale. You need the subject on a transparent or new backdrop — Remove BG. The light is wrong for the mood — Relight. You need the same subject from a different viewpoint — Angles.
Costs stay proportional to the job: 3 credits for background removal, 5-6 for enhancement, inpainting, and relighting, 8 for new angles, and upscaling scales with your image size and the zoom factor you pick. You pay per operation, not for a bloated all-in-one editor.
Chaining edits in the right order
Order matters the way it does in a real retouching pipeline. Do content edits first — inpaint out the clutter, swap what needs swapping — because every later step should work on the final scene. Then relight if the mood needs changing, since relighting redraws global light and shadow.
Finish with quality steps: Enhance to tighten detail, and Upscale last of all. Upscaling early is the classic mistake — it multiplies the cost of every later edit and enlarges flaws you were about to fix anyway.
It works on photos and generations alike
Everything in the suite treats a phone photo and an AI render identically. That matters because generation is rarely the last step: the standard Nidhogg workflow is generate, pick the winner, then edit — remove the artifact, relight for consistency with the rest of the campaign, upscale for the final export.
For real photos, the suite covers the everyday cases people used to open heavyweight software for: cleaning up a listing shot, rescuing a soft portrait, cutting a product onto white, changing a headshot's lighting from harsh to soft.
Prompt-based edits when a mask is the wrong tool
Some edits aren't regional — 'make the whole scene dusk', 'turn this sketch photorealistic'. For those, use image-to-image with an editing-strong model like Nano Banana 2: upload the image, describe the transformation, and the model redraws the frame while keeping the composition.
The rule of thumb: masked Inpaint for surgical changes where most pixels must survive untouched; image-to-image for global transformations where the whole frame should change together.