
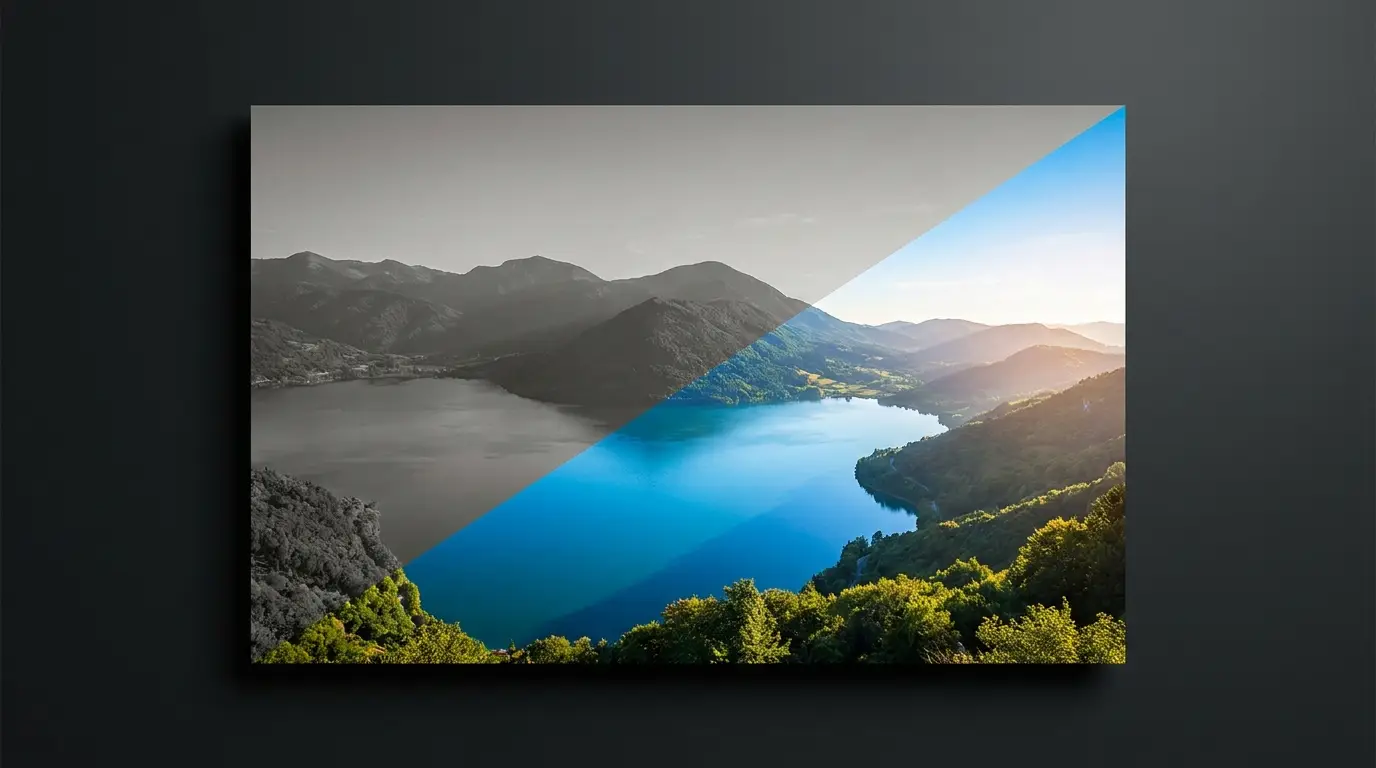
Interpolation vs. generative upscaling
Bicubic and Lanczos resizing can only average neighboring pixels, which is why enlargements look soft and halo at the edges. A generative upscaler instead asks: given this low-resolution evidence, what did the high-resolution scene most plausibly look like? It then renders that answer, adding structure — individual hairs, brick texture, catchlights — that was never stored in the original file.
The tradeoff is that invented detail must be plausible rather than literal. For photographic and generated content this is exactly what you want; for forensic or measurement use, it isn't. Know which job you're doing.
Order of operations for a clean result
Fix first, enlarge last. Run cleanup — background removal, inpainting, relighting — at native resolution, because every editing pass is faster and cheaper on smaller files, then upscale once at the very end. Upscaling early just makes every subsequent edit slower and re-degrades the detail you paid for.
Avoid stacking upscales. Two consecutive passes don't double the quality; the second pass amplifies the first pass's invented texture and starts to look etched or 'crunchy,' especially in skin. One pass from your true source is almost always better than two hops.
Where upscaling pays off most
Print is the classic case: a 1024px image at photo-print density is barely 3 inches wide, but one upscale pass makes the same image poster-viable. E-commerce zoom views, marketplace thumbnails that get cropped by the platform, and archival family photos scanned at low resolution are the other everyday wins.
It also compounds with Nidhogg's generators: draft compositions on a fast model like Flux Schnell, pick the keeper, then upscale — you get flagship-looking output at a fraction of the iteration cost.