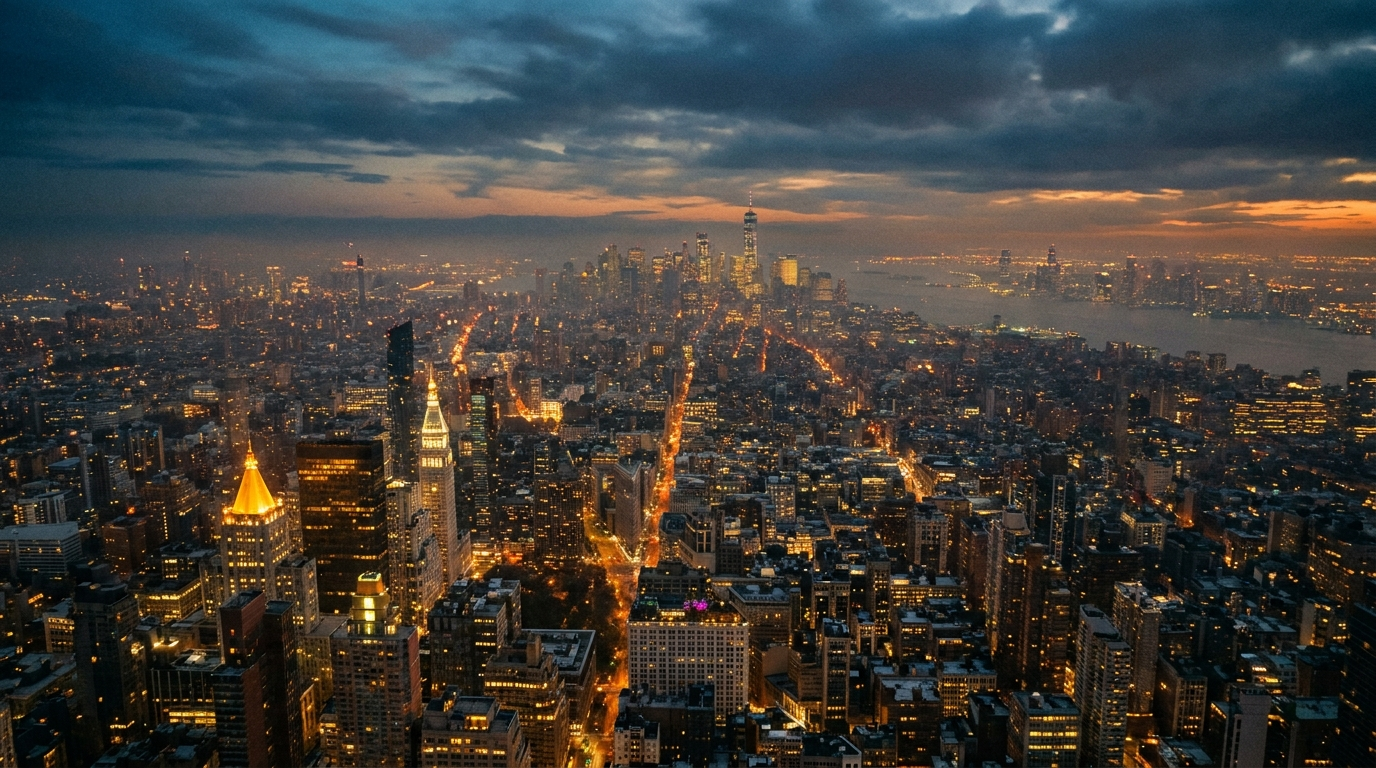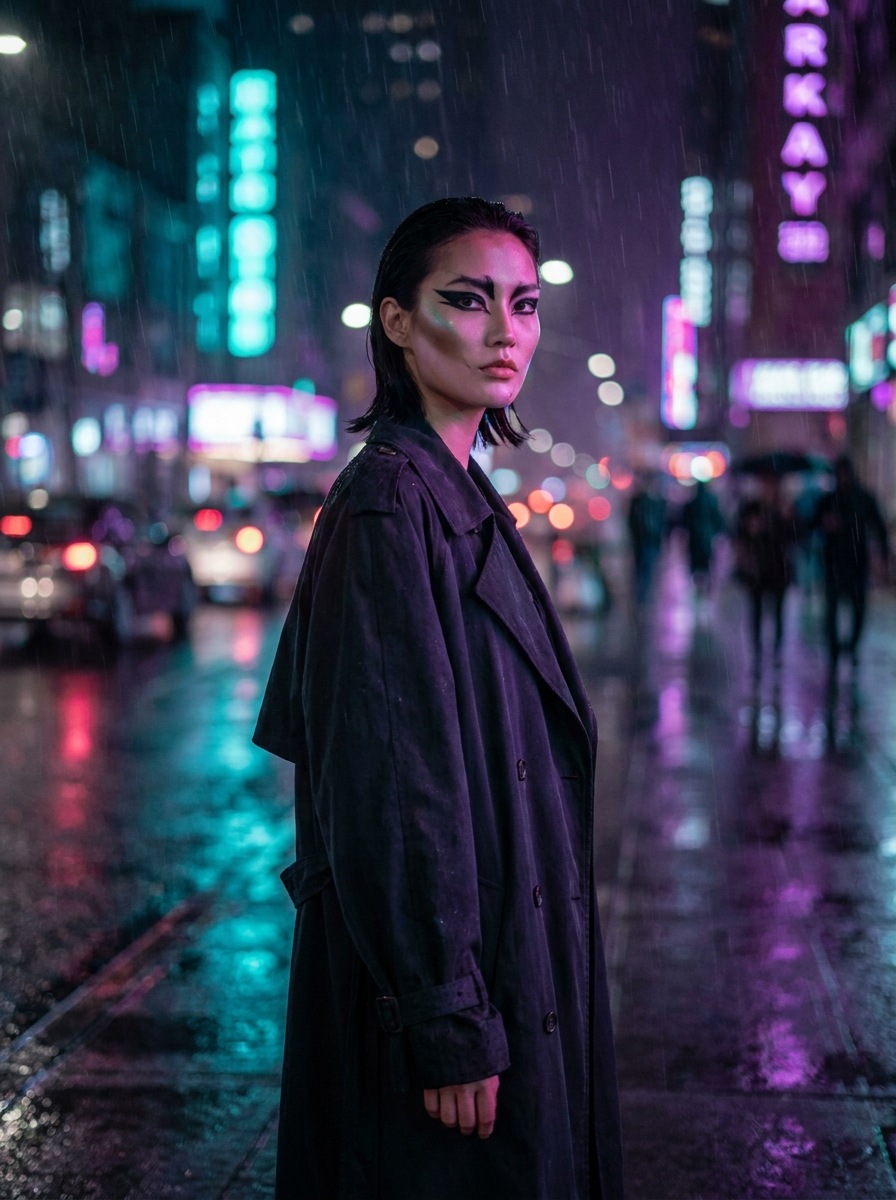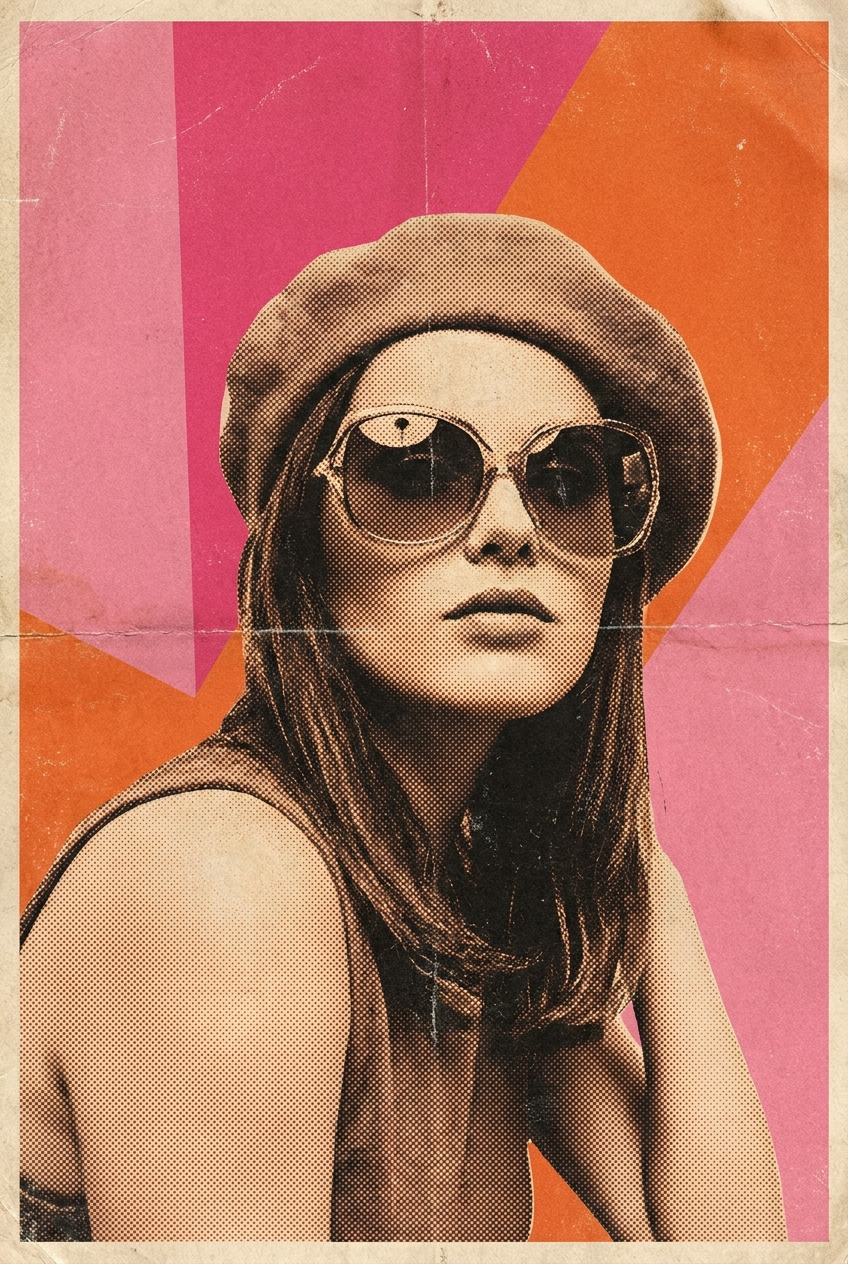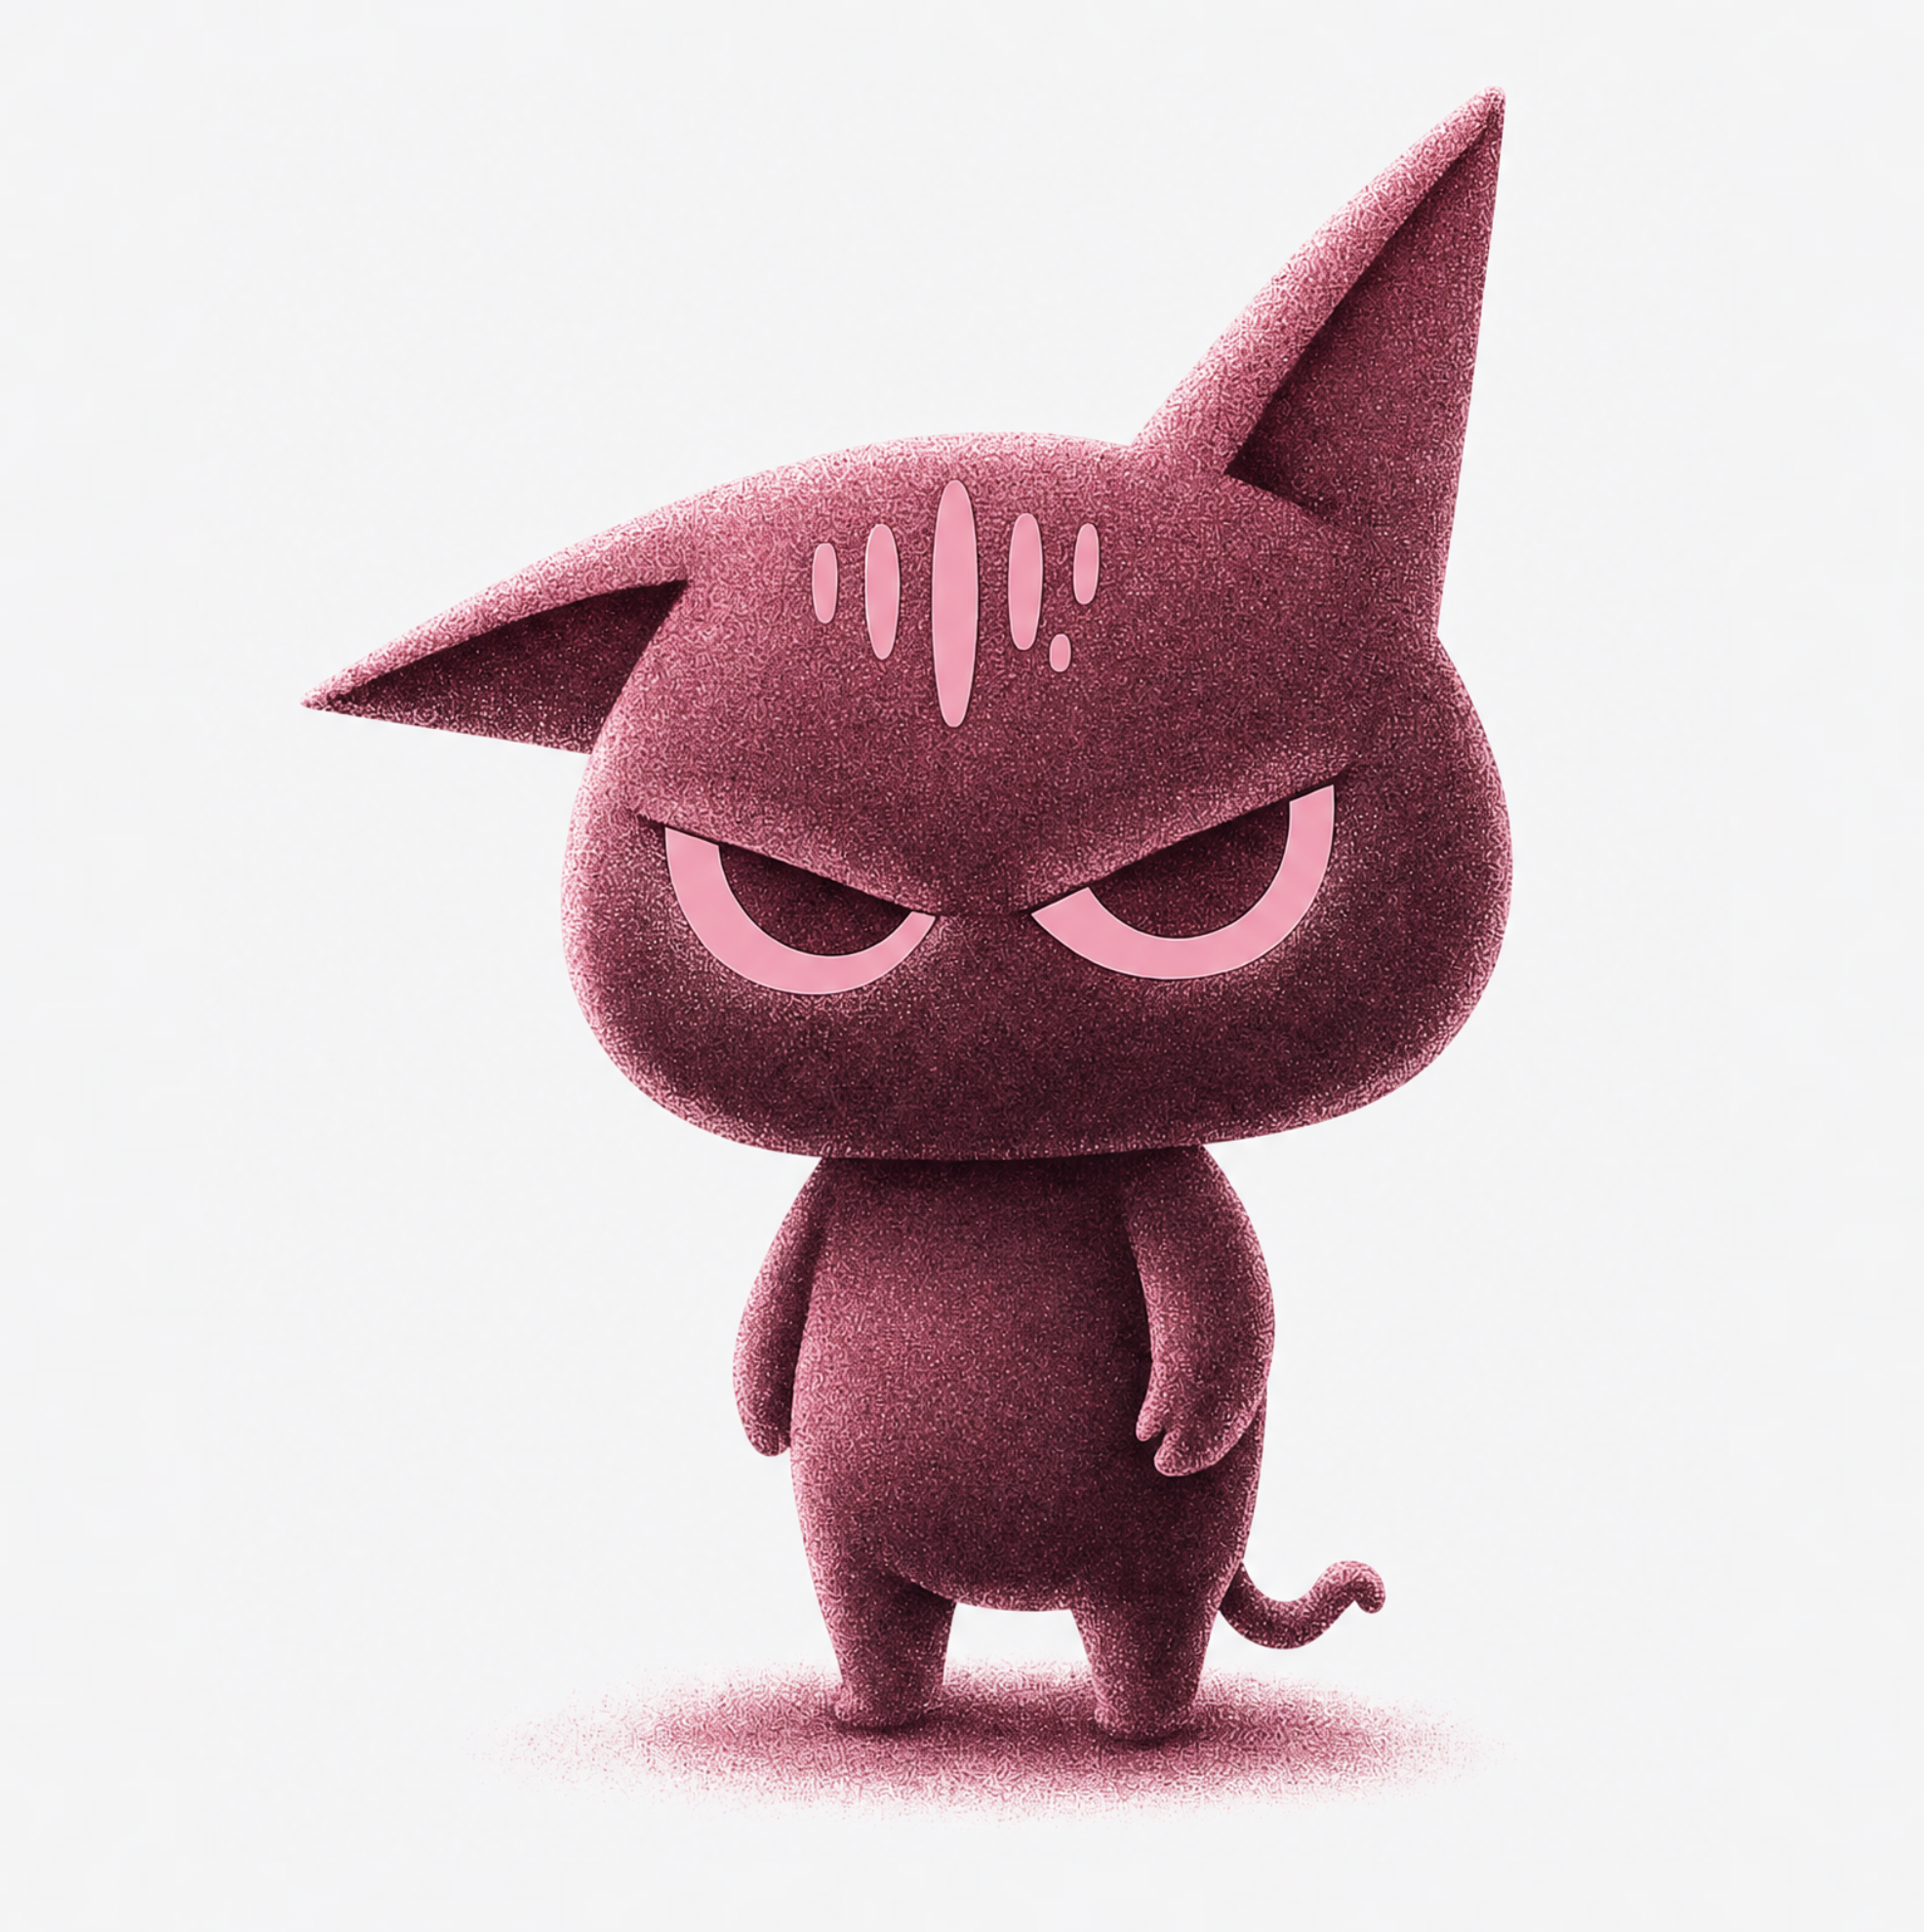
Good prompts aren't poetry — they're layered specifications. The models behind Nidhogg Image respond best when you specify subject, then context, then craft, in that order.
The three-layer structure
Layer 1 — subject: who or what, doing what. Be concrete: “a ceramic espresso cup on a walnut table” beats “a beautiful product shot”.
Layer 2 — context: environment, time of day, weather, mood. This is where atmosphere comes from.
Layer 3 — craft: camera and finish. Focal length, lighting setup, film stock, grade. “85mm, soft window light, shallow depth of field” does more than ten adjectives.
Modifiers that actually move the needle
Aspect ratio is a composition decision, not an afterthought — 9:16 forces vertical staging, 21:9 invites negative space. Pick it before you prompt.
Style presets stack with your prompt, so start from a preset that's 80% there and spend your words on the remaining 20%. And when a result is close but not right, edit it — Relight, Upscale, Inpaint — instead of re-rolling the dice from zero.
Steal from your own wins
Every strong image in your gallery is a recipe: open it, hit Recreate, and you get its exact prompt and model back in the composer. Your best prompt library is the work you've already shipped.